

理想是火,点燃熄灭的灯。


10000年


uni-app小程序开发记录
前言:最近在用uni-app学习并开发一些小应用,
顺便记录下开发和学习过程中遇到的一些坑,方便以后避免
1.uni-swiper-dot 轮播图
设置默认值的坑:需要在swiper上设置current
默认值才生效
完整代码:
    <uni-swiper-dot :info="info" :current="current" field="content" :mode="mode">
      <swiper class="swiper-box" @change="paperChange" :current="current">
        <swiper-item v-for="(item ,index) in info" :key="index">
          <view class="swiper-item">
            <img class="paperImg" :src="item.cover_image" alt />
          </view>
        </swiper-item>
      </swiper>
    </uni-swiper-dot>
2.APP取消顶部导航栏
在page.json中的pages中添加 即可
    {
      "path": "pages/detail/detail",
      "style": {
        "app-plus": {
          //app配置自定义导航
          "titleNView": false //app禁止使用原生导航
        }
      }
    },
3.小程序取消顶部的导航条
在page.json中的pages中添加 即可
      "path": "pages/detail/detail",
      "style": {
      "navigationStyle":"custom"
      }
效果图在下面:图片的效果很好
4.uni-app 小程序下载图片
正常来讲 首先要授权
    downImg() {
      let that = this;
      //获取相册授权
      uni.getSetting({
        success(res) {
          if (!res.authSetting["scope.writePhotosAlbum"]) {
            uni.authorize({
              scope: "scope.writePhotosAlbum",
              success() {
                //这里是用户同意授权后的回调
                that.saveImgToLocal();
              },
              fail(err) {
                console.log(err);
                //这里是用户拒绝授权后的回调
                uni.showToast({
                  title: "授权失败"
                });
              }
            });
          } else {
            //用户已经授权过了
            that.saveImgToLocal();
          }
        }
      });
    },
授权之后的方法:saveImgToLocal
    saveImgToLocal() {
      uni.showModal({
        title: "提示",
        content: "确定保存到相册吗",
        success: res => {
          if (res.confirm) {
            uni.downloadFile({
              // this.imgDetail, //图片地址
              url: "https://biaoblog.cn:5000/uploads/test1.jpg",
              success: res => {
                if (res.statusCode === 200) {
                  uni.saveImageToPhotosAlbum({
                    filePath: res.tempFilePath,
                    success: function() {
                      uni.showToast({
                        title: "保存成功",
                        icon: "none"
                      });
                    },
                    fail: function(err) {
                      console.log(err);
                      alert(err);
                      uni.showToast({
                        title: "保存失败",
                        icon: "none"
                      });
                    }
                  });
                }
              }
            });
          } else if (res.cancel) {
          }
        }
      });
    },
需要注意的是,
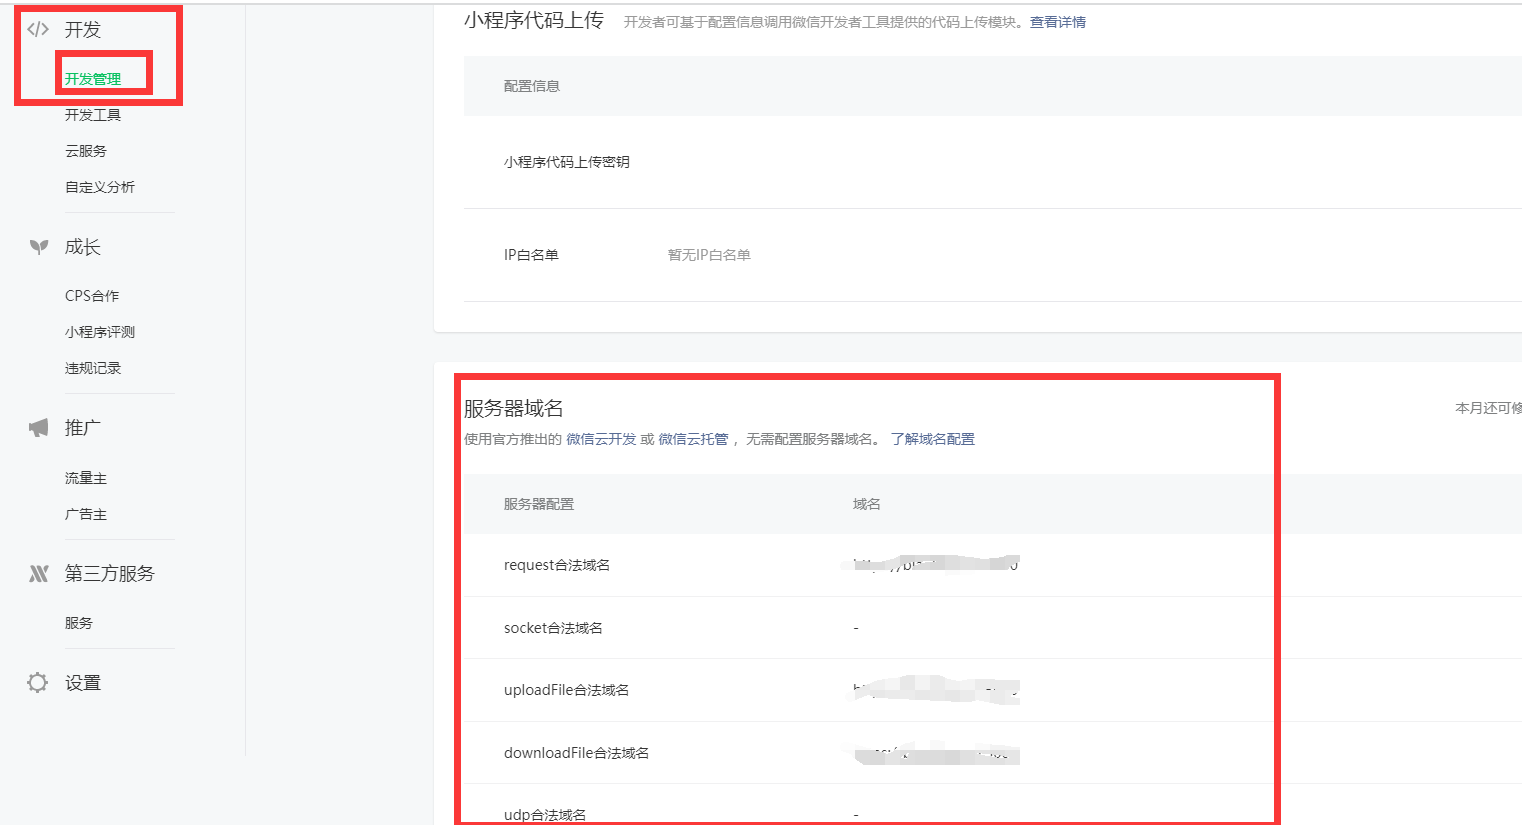
这里的下载图片 需要在微信公众平台设置 域名 白名单
否则 上面的代码只能在微信开发者工具中正常work
无法真机模拟
然后又一个坑 域名是需要https的
我们之前没有搞过证书,
所以需要搞一下https证书
关于https证书的配置 可以参考我的这篇文章 https之ssl证书配置前端+后端(koa)
5.uni-app 小程序 触底加载
之前用了自己封装的触底原生发生 浏览器触底判断(添加防抖)
但是不能在小程序中触发 所以搜了一下文档:
两步轻松实现:
第一步:
首先,在page.json的style下设置
  "pages": [
    //pages数组中第一项表示应用启动页,参考:https://uniapp.dcloud.io/collocation/pages
    {
      "path": "pages/home/home",
      "style": {
        "navigationBarTitleText": "",
        //触底触发相关配置
        "enablePullDownRefresh": true, //设置参数为true
        "onReachBottomDistance": 20 //距离底部多远时触发 单位为px
      }
    },
第二步:
在home页面下 添加钩子:(跟mounted同级)
  onReachBottom() {
    console.log("已触底");
  },
然后就OK了 下课!
6.uni-app 小程序 分享功能(分享朋友圈和分享页)
分享朋友圈:
// 分享到朋友圈
  onShareTimeline() {
    return {
      title: "游走在你指尖的壁纸,指尖壁纸",
      path: "/pages/home/home",
      imageUrl: "/static/imgs/logo2.jpeg"
    };
  },
首先分享分两种形式
第一种右上角菜单分享
第二种按钮分享(必须是用户点击触发)
按钮触发:
<button open-type="share">分享</button>
然后是右上角触发:这个钩子跟mounted同级 可以判断分享是从按钮还是右上角
以及可以自定义一些参数
  onShareAppMessage(res) {
    if (res.from === "button") {
      // 来自页面内分享按钮
      console.log(res.target);
      return {
        title: "x",
        path: "/pages/home/home",
        imageUrl: "/static/imgs/logo2.jpeg"
      };
    }
    return {
      title: "x",
      path: "/pages/home/home",
      imageUrl: "/static/imgs/logo2.jpeg"
    };
  },
有个问题 在自定义分享按钮的时候 它一直有个边框 很丑 取消不掉
除了设置:border-color,background,out-line以外 还需要给按钮的伪类的border设置为none
#shareBtn {
  background: transparent;
  font-size: 12px;
  color: white;
  line-height: normal;
  padding: 0;
  border: none;
  height: 40px;
  position: absolute;
  width: 57px;
  line-height: 61px;
  top: 3px;
  background-color: transparent;
  border-color: transparent;
  outline: none;
}

#shareBtn::after {
  border: none;
}
7.uni-app 小程序下拉刷新功能
第一步跟下拉触底加载一样 在page配置中添加:enablePullDownRefresh
然后第二步在页面中添加钩子:(跟mounted同级)
  onPullDownRefresh() {
    console.log("下拉刷新");
    setTimeout(() => {
      uni.stopPullDownRefresh(); // 关闭下拉刷新
    }, 500);
  }
8.uni-app 小程序获取用户唯一标实 openid
主要是因为 我们要做一个收藏的功能,这个收藏的功能需要获得用户的唯一标实,才能进行存储
废话不多说:
第一步:
wx.login 先获取一些必要参数:
第二步:通过接口:https://api.weixin.qq.com/sns/jscode2session 获取openid
需要注意的是,这块的pai官网是不允许在小程序中直接调用的
我们的解决方案就是把这个接口 写在我们的后台,然后前端调用即可
     wx.login({
            success: res => {
              // 发送 res.code 到后台换取 openId, sessionKey
              if (res.code) {
                console.log(res);
                // this.debug = res.code;
                //https://api.weixin.qq.com/sns/jscode2session这个接口不能在微信小程序内使用
                //解决方案就是单独写一个后端接口来处理
                wx.request({
                  url: "https://api.weixin.qq.com/sns/jscode2session", //微信服务器获取appid的网址 不用变
                  method: "post", //必须是post方法
                  data: {
                    js_code: res.code,
                    appid: "xxx", //仅为实例appid
                    secret: "xxx", //仅为实例secret
                    grant_type: "authorization_code" //不变
                  },
                  header: {
                    "content-type": "application/x-www-form-urlencoded"
                  },
                  success: response => {
                    console.log(
                      "response.data.openid:::",
                      response.data.openid
                    );

                    userInfo = {
                      ...userInfo,
                      app_openid: response.data.openid,
                      sessionKey: response.data.session_key
                    };
                    this.debug = JSON.stringify(userInfo);
                    uni.setStorage({
                      key: "userInfo",
                      data: userInfo,
                      success: () => {
                        this.userInfo = userInfo;
                      }
                    });
                  },
                  fail: err => {
                    // this.debug = "jscode2session ERR::::" + JSON.stringify(err);
                  }
                });
              } else {
                this.debug = "登陆失败";
                console.log("登陆失败");
              }
            }
          });
9.uni-app 通过navigateBack 返回上上一级 并传递参数
需求就是需要在详情页面执行某个操作
然后回到上一级页面,把执行过操作的某个数据 从上一级的列表中过滤掉 而不是重新获取数据
因为这个列表页面 存在滚动分页,重新请求数据就很繁琐且体验很差
第一步:在返回的页面通过getCurrentPages获取上一级页面 然后setData
       // 返回上一级时 把removeCollectId传递给收藏页
        var pages = getCurrentPages();
        // console.log(pages);
        var prevPage = pages[pages.length - 2]; //上一个页面
        // console.log(prevPage);
        //直接调用上一个页面的setData()方法,把数据存到上一个页面中去
        prevPage.setData({
          removeCollectId: this.removeCollectId
        });
        uni.navigateBack("/pages/home/home");
第二步在返回的页面中,接受这个参数
  onShow: function(option) {
    let pages = getCurrentPages();
    let currPage = pages[pages.length - 1]; //当前页面
    let removeCollectId = currPage.data.removeCollectId;
    if (removeCollectId) {
         //做一些事情
     }
      },
最终取消这个方案了 因为返回上一步的回调监听不到 所以很麻烦
最终采用了 缓存的方法解决
10.uni-app 分享详情页面回退
有时候我们的详情页面是直接分享出去的,
那么我们在开发中 一般都使用navigateBack 返回上一级
但是如果分享的是详情页面 就不存在上一级
我们需要通过 switchTab来跳转到tab首页
uni.switchTab({
          url: "/pages/home/home"
        });
那么为何判断是否分享呢?很简单
只需要在分享页面的时候 加一个参数进去
然后在页面的onload里面获取这个参数就知道是否是分享了
然后根据这个标实 来进行不同的跳转方式
以下是详情页面的分享钩子:
  onShareAppMessage(res) {
    let detail = JSON.stringify(this.detail);
    if (res.from === "button") {
      // 来自页面内分享按钮
      console.log(res.target);
      return {
        title: "游走在你指尖的壁纸,指尖壁纸",
        path: `/pages/detail/detail?share=true`
        // imageUrl: this.imgDetail
      };
    }
    return {
      title: "游走在你指尖的壁纸,指尖壁纸",
      path: `/pages/detail/detail?share=true`
      // imageUrl: this.imgDetail
    };
  },
11.uni-app 复制内容:
      uni.setClipboardData({
        data: "shinibiaoge",
        success: function() {
          // 重点~做笔记
          // 在success中加入uni.hideToast()可以解决
          uni.showToast({
            title: "微信号已复制",
            duration: 1000
          });
          // 以下就可自定义操作了~
        }
      });
12.uni-app canvas 绘制满屏的图片:
使用:wx.getSystemInfoSync().windowWidth 和 wx.getSystemInfoSync().windowHeight 来获取设置的宽和高
     myCanvas.drawImage(
          this.bgImage,
          0,
          0,
          // 个人需求 背景图片占满图片
          wx.getSystemInfoSync().windowWidth,
          wx.getSystemInfoSync().windowHeight
        );
需要注意的是,如果是网络图片url,需要先进行downloadFile 下载之后的图片缓存(本地path)
之后才能drawImage的操作:
    uni.downloadFile({
      url: "https://xxx.xxx.com.jpg", //仅为示例,并非真实的资源
      success: (res) => {
        console.log(res);
        if (res.statusCode === 200) {
          console.log("下载成功:" + res.tempFilePath);
          myCanvas.changeBgImage(res.tempFilePath);
        }
      },
    });
13.uni-app 的components组件中没有onLoad和onShow的钩子,因为这些钩子是页面级别的
如果想在组件中触发加载的钩子,可以使用自带的create或者mounted钩子即可
14.uni-app的canvas 覆盖层级过高,无法使用zindex覆盖
我们的需求就是想要在canvas上面去写一个模态框,来进行一系列的操作
可以使用uni-app提供的 cover-view,
cover-view组件支持的事件:click
可以覆盖的组件有map、video、textarea、canvas
属性:
scroll-top,设计来设置顶部的滚动偏移量的,需要注意的是,它仅在设置了overflow-y: scroll后,才会生效。
写法示例 以canvas为例
<canvas class="vd" :controls="false">
    <cover-view class="controll" @click="click">????</cover-view>
</canvas>
这样我们的文字就可以覆盖在canvas上了,
需要注意的是:
cover-view里只能嵌套:
cover-viewcover-imagebuttonnavigatorad
这个其实无所谓,如果我们的组件是是复杂的,直接外面套一层cover-view即可
以上的方法放弃了,无法实现我们的效果
实现方法:在canvas未覆盖到的地方,放可操作的区域,
当操作时,把canvas先转为img,这样就不会遮盖我们的model了
15.canvas图片下载本地
跟普通图片下载的区别就是不需要再downLoadFile了,因为在实现canvas转img时的图片就可以直接保存本地:
1.canvas 转为图片
 wx.canvasToTempFilePath({
    canvasId: 'mycanvas',
    success: function(res) {
        var tempFilePath = res.tempFilePath;
        that.setData({
            loadImagePath: tempFilePath,
        });
    },
    fail: function(res) {
        console.log(res);
    }

});
2.把canvs转为图片的url 进行存储本地的操作
//点击保存到相册
saveImg: function() {
    wx.saveImageToPhotosAlbum({
        filePath: this.data.loadImagePath,
        success(res) {
            console.log('res', res);
            wx.showToast({
                title: '已保存到相册',
                icon: 'success',
                duration: 3000
            })
        }
    })
}
16.实现textarea自动获取焦点以及默认选择文本效果(select效果)
            :auto-focus="true" // 自动获取焦点
            :selection-start="0" // 选择的开始index
            :selection-end="6" // 选择的结束Index
完整的textarea:
          <textarea
            :style="{ color: fontColor }"
            v-model="text"
            type="text"
            :auto-focus="true"
            :selection-start="0"
            :selection-end="6"
          >
          </textarea>
参考文档:https://uniapp.dcloud.net.cn/component/textarea.html
17.uni-app 自动引用组件
1.在根目录创建 components
然后在下面创建对应的组件的名字的文件夹和文件
例如: paper/paper.vue
2.在page中进行引用:
<paper/> 即可
需要注意的是,目录必须跟组件名一致不然会导致引用失败,
如果名字不想固定,也可以采用传统的引用方式,
  import { xxx } from ".xxxx";
  components: {
	xxx
  },
18 . 订阅一次性消息提醒的流程梳理
1.先去申请模板,拿到模板id
2.前端去得到用户授权,传递这个模板id,注意:需要用户click触发,被动不会自己触发。
3.得到授权的同时,调用我们自己的服务接口
4.接口先去调用微信api的token - 获取接口调用凭据 https://developers.weixin.qq.com/miniprogram/dev/OpenApiDoc/mp-access-token/getAccessToken.html
5.拿到这个凭证token之后,发送订阅消息
完事
参考文档:
https://blog.csdn.net/dagjik/article/details/121181021
https://blog.csdn.net/m0_57611486/article/details/128478307
19.隐藏tabbar
方法里面可以写index,即tabbar的索引 不传递既是隐藏所有
uni.hideTabBar();
20.
取消小程序默认的样式(分享,跳转到客服页面)
.kefuBtn {
  border: none;
  display: inline;

  font-size: unset;
  border: unset;
  color: unset;
  padding: unset;
}

.kefuBtn::after {
  border: unset;
}
21.长按识别图片中的二维码,以及保存/收藏图片等等功能
       <img
              lazy-load="true"
              mode="widthFix"
              src="xxxx"
              alt
              :show-menu-by-longpress="true"
            />
22.uni-app 点击预览图片:
<template>
  <view>
    <!-- 点击图片时触发预览 -->
    <image @click="previewImage" src="your_image_url" mode="aspectFill" />
  </view>
</template>

<script>
export default {
  methods: {
    previewImage() {
      // 调用uni.previewImage API
      uni.previewImage({
        current: 'your_image_url', // 当前显示图片的链接
        urls: ['your_image_url'] // 需要预览的图片链接列表
      });
    }
  }
};
</script>
作者: Bill 本文地址: http://biaoblog.cn/info?id=1659514596479
版权声明: 本文为原创文章,版权归 biaoblog 个人博客 所有,欢迎分享本文,转载请保留出处,谢谢!